 Lynden
 Birch Bay sits close enough to the water that the same storms rolling off the Strait of Georgia and Puget Sound bring something inland Lynden homes rarely deal with in the same combination: salt-laden air, sideways rain that finds every gap, and a moss season that can stretch nine months out of the year. Siding installed to a standard that's good enough for a sheltered Whatcom County lot doesn't automatically hold up this close to saltwater — the details that matter shift once wind and moisture become a near-constant instead of an occasional storm.
Why Birch Bay's Exposure Changes What Siding Needs to Do
Lynden and Birch Bay sit in the same county, but they don't face the same weather. Birch Bay takes wind and rain straight off the water, and that combination does two things most inland siding jobs don't have to plan for. First, salt air accelerates the breakdown of paint films, caulk, and fastener coatings — it's a slow chemical process, but it never really stops. Second, the moisture load is more constant than seasonal. Where an inland home might dry out for a few weeks at a stretch in summer, homes closer to the bay stay damp longer into the year, which is exactly the condition moss, algae, and mildew need to take hold on siding, trim, and fascia boards.
None of this means siding installation in Birch Bay requires exotic materials or unusual techniques. It means the ordinary details — how water is shed, how fasteners resist corrosion, how the assembly behind the siding gets a chance to dry out — have to be done right every time, because there's less margin for a shortcut to go unnoticed for long.
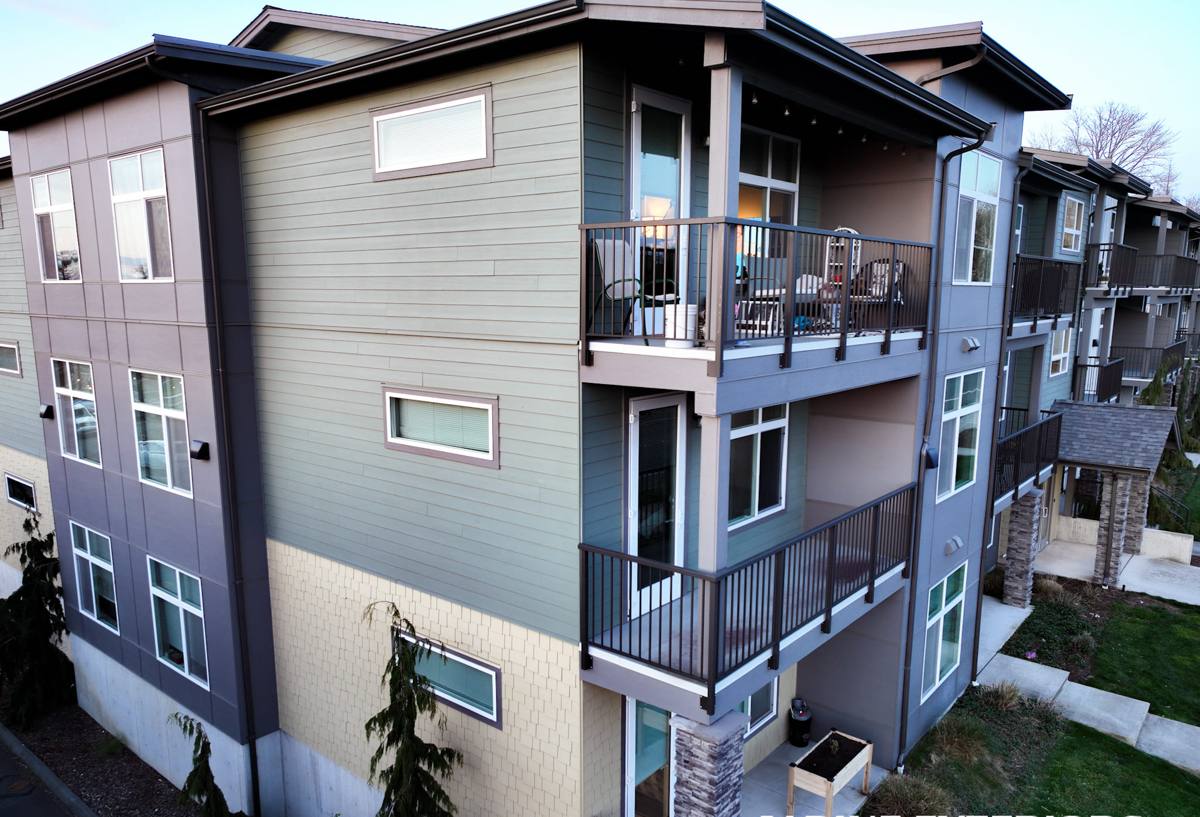
What Correct Installation Looks Like Here
A siding job can look identical to a passerby and perform completely differently depending on what's behind it and how it was fastened. In a coastal-influenced area like Birch Bay, three details matter more than they would on a sheltered inland lot.
A Working Drainage Plane and Rain Screen Gap
Every siding installation should include a weather-resistive barrier behind the siding, but in a high-moisture area that barrier needs a clear drainage path, not just a layer stapled to the sheathing. We install furring or a purpose-built rain screen gap so that any water that gets past the siding face — and some always will, in wind-driven rain — has somewhere to go besides straight into the wall assembly. That gap also lets air move behind the siding, which speeds up drying after the wet stretches that are common here.
Flashing at Every Penetration
Windows, doors, hose bibs, light fixtures, vents — every place something interrupts the siding plane is a place water will try to get behind it. Flashing has to be installed in the correct shingle-lap order, each piece overlapping the one below it, so gravity and wind-driven rain both drain outward instead of pooling. This detail is invisible once the siding goes on, which is exactly why it's worth asking a contractor how they handle it before work starts.
Fasteners and Fastening Patterns Built for Wind and Salt
Standard fasteners can corrode faster in salt-influenced air, and corroded fasteners eventually bleed rust streaks down the siding face and lose their grip over time. We use corrosion-resistant fasteners and follow manufacturer nailing patterns sized to the wind exposure of each specific wall — corners, gable ends, and open walls facing the water typically need tighter fastener spacing than a sheltered wall on the same house.
Why We Only Install James Hardie Fiber Cement in Birch Bay
We install James Hardie fiber cement exclusively — not LP SmartSide, not vinyl, not cedar or primed wood, not other fiber cement brands. That's a deliberate professional standard, and it matters more here than it does on a lot of the inland jobs we run.
Fiber cement is non-combustible and dimensionally stable — it doesn't swell, cup, or rot the way wood-based products can under repeated wetting and drying. James Hardie also engineers its product lines by climate zone; Western Washington falls in the company's HZ5 zone, meaning the boards specified here are formulated for a region with sustained moisture and moderate freeze exposure rather than desert heat or a hurricane-belt humidity load. The factory-applied ColorPlus finish is baked on under controlled conditions and carries its own finish warranty, which matters in an environment where field-applied paint on wood or engineered wood siding tends to fail first at the seams and cut edges — exactly the spots salt air and driving rain attack hardest.
We're not going to tell you another product is unusable — plenty of homes wear vinyl or engineered wood siding for years without major incident. What we will say is that we've made a professional call to standardize on one product system we can warranty with confidence, install to one consistent spec, and stand behind for the life of the job, rather than splitting our crews' expertise across several materials with different moisture behavior, fastening rules, and failure points.
Our Installation Process
- Assessment and measurement. We walk the exterior, check existing sheathing and trim condition, and note wall-by-wall exposure — which sides face the prevailing wind and rain.
- Removal and sheathing check. Old siding comes off down to the sheathing so we can inspect for hidden rot or trapped moisture before anything new goes on — covering up a problem is worse than finding it.
- Weather barrier and drainage plane. A new weather-resistive barrier goes on, followed by furring or rain screen strips sized to that wall's exposure.
- Flashing. Windows, doors, and every penetration get flashed in proper overlapping order before trim or siding closes around them.
- Hardie installation. Boards, panels, or shingle-style siding go on with corrosion-resistant fasteners at manufacturer-specified spacing, joints treated per Hardie's finish guidelines.
- Trim, caulking, and final inspection. We check every seam, corner, and penetration before calling the job finished.
Comparing Siding Materials in a Salt Air, High-Moisture Environment
| Material | Moisture Behavior | Salt Air / UV Durability | Maintenance Load |
|---|---|---|---|
| James Hardie fiber cement | Dimensionally stable; doesn't swell or rot | Factory ColorPlus finish resists fading and chalking | Occasional wash; no repainting on a typical cycle |
| Vinyl | Doesn't rot, but can warp or turn brittle with age | Color can fade unevenly; seams and corners are weak points | Low upkeep, but panels aren't repairable — sections get replaced |
| Engineered wood siding | Wood-based core is vulnerable if the factory coating is breached | Cut edges and fastener holes need field sealing to stay protected | Moderate — edge sealing and touch-up over time |
| Cedar or primed wood | Absorbs moisture; prone to swelling, cupping, and rot in wet cycles | Needs a maintained paint or stain film to hold up | Highest — repainting or staining on a recurring cycle |
This isn't a claim that every alternative is unusable — it's the reasoning behind why we standardized on one system we can install to spec and warranty with confidence in this climate.
Living With a Long Moss Season
Moss doesn't damage fiber cement the way it can damage bare or under-maintained wood, but it will grow on any siding surface that stays shaded and damp long enough, and a long moss season this close to the water gives it plenty of time to establish. A little seasonal upkeep keeps it from building up and keeps the finish looking the way it should.
- Rinse siding with a garden hose and soft brush on shaded or north-facing walls at least once a year — pressure washers can force water behind trim if held too close.
- Keep gutters clear so overflow isn't running down the siding face and feeding moss growth at the top of the wall.
- Trim back shrubs and tree limbs that keep a wall section shaded and damp longer than the rest of the house.
- Check caulking at trim and penetrations every year — salt air ages caulk faster than it does further inland, and a failed bead is the easiest entry point for moisture.
- Walk the exterior after major windstorms and check for loose trim or fasteners rather than waiting for the next scheduled look.
Signs Your Current Siding Is Already Losing Ground
Homes near Birch Bay tend to show wear in specific places first, and it's worth knowing what to look for before a small issue turns into a bigger repair.
Soft or spongy spots near the bottom courses, dark staining that keeps returning after cleaning, paint that's chalking or peeling at seams and cut edges, and caulk that's cracked or pulled away from trim are all early signals. None of them mean the whole wall is failing, but they mean water is finding a way in faster than the wall assembly is drying back out, and that gap tends to widen the longer it goes unaddressed.
Why Local Experience in Birch Bay Matters
A crew that mostly works sheltered inland neighborhoods and occasionally takes a job near the water tends to treat it like any other siding job — because on paper, it looks like one. A crew that regularly works Birch Bay and the rest of coastal Whatcom County already knows which walls on a given lot take the worst of the wind and rain, budgets fastener spacing and flashing detail accordingly, and isn't relearning the environment on your house. That familiarity shows up less in the sales conversation and more in the parts of the job you can't see once it's finished — the flashing laps, the drainage gap, the fastener choice — which are exactly the parts that determine whether the siding is still doing its job in fifteen years.
If you're weighing a siding project for a home in or near Birch Bay, we're happy to take a look and walk through what your specific walls need — no pressure, no obligation. Use the form below to request a free estimate.