 Lynden
 The Problem You Can't See From the Curb
Siding fails from the inside out far more often than it fails from the outside in. A wall can look perfectly fine — clean paint, tight seams, no visible cracking — while the sheathing behind it is soft, the framing is staining, and insulation is holding water like a sponge. By the time damage shows up on the surface, it has usually been building for years.
This is especially true here in Lynden and the rest of Whatcom County, where the marine climate keeps humidity high for most of the year, driving rain hits walls at an angle instead of falling straight down, and a long, damp moss season adds months of standing moisture to roofs, gutters, and shaded wall sections. None of that is unusual for western Washington. It just means the margin for error in how a wall is built and sided is smaller here than it is in drier parts of the country.
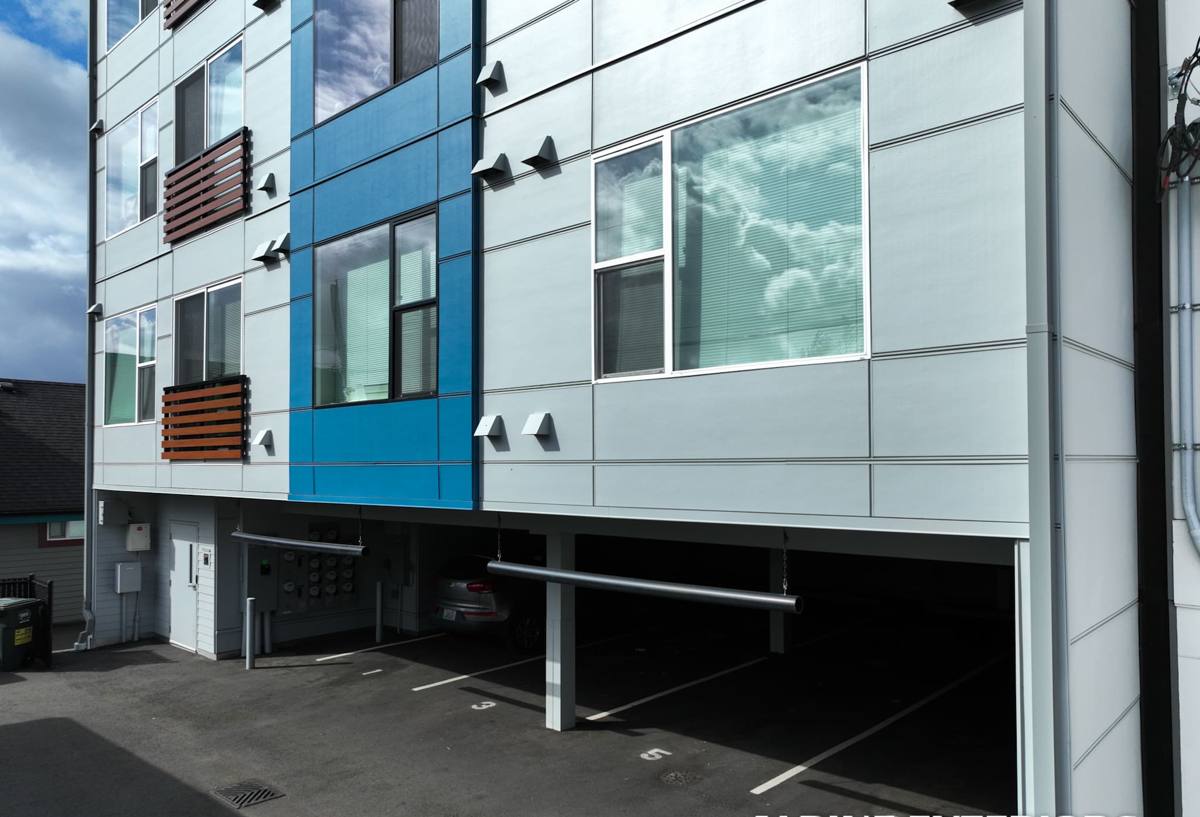
How Water Actually Gets Behind Siding
Siding is not meant to be a perfect, watertight barrier on its own — no exterior cladding is. It's the first line of defense in a system that's supposed to shed the majority of water while managing the small amount that inevitably gets past it. Water finds its way behind siding through a handful of predictable paths:
- Nail holes, seams, and butt joints where caulking has aged, shrunk, or was never installed correctly
- Poorly flashed windows, doors, and roof-to-wall intersections
- Cracked or warped boards that no longer shed water the way they did when new
- Siding installed too close to grade, decks, or roof lines, where splashback and standing water sit against the material
- Missing or damaged kick-out flashing where a roof edge meets a wall
- Caulk used as a substitute for proper flashing — common on older installs, and one of the most frequent causes of hidden rot we find
Once water gets past the siding, what happens next depends almost entirely on what's behind it.
What's Supposed to Be Behind Your Siding
A correctly built wall assumes some moisture will get through and gives it somewhere to go. That system generally includes a weather-resistant barrier (house wrap or building paper) over the sheathing, properly lapped and taped flashing at every penetration and transition, and increasingly, a drainage gap — sometimes called a rainscreen — between the siding and the wall so any water that gets in can drain and dry instead of sitting against wood sheathing.
On a lot of homes in this area, especially those built or re-sided before drainage gaps became standard practice, the siding was installed directly against the house wrap with no ventilation space at all. That's not automatically a disaster, but it removes the margin for error. If the water-resistive barrier is intact and properly lapped, the wall can still perform. If it's compromised anywhere — a torn wrap, a missed flashing detail, a fastener driven through the barrier without sealant — there's nowhere for that moisture to go but into the sheathing and framing.
Why This Matters More With Some Siding Materials Than Others
Every siding material interacts with a wall system differently once water gets behind it. Some materials absorb moisture and hold it against the wall. Others shed it. Some swell and warp when wet and never fully return to their original shape, which opens new gaps for the next rain. This is one of the biggest — and least talked about — differences between siding products, and it's a major reason we standardized on one material rather than installing whatever a homeowner happens to ask for.
How Common Siding Materials Behave When Moisture Gets In
| Material | Moisture behavior | Long-term risk |
|---|---|---|
| Primed spruce / solid wood | Absorbs water readily; swells, cups, and checks with repeated wet-dry cycles | High — prone to rot at joints and fastener points without diligent repainting |
| Cedar | More rot-resistant than spruce but still absorbs moisture; performance depends heavily on finish maintenance | Moderate to high without consistent upkeep |
| Vinyl | Doesn't absorb water itself, but doesn't stop it either — water runs behind the panels and relies entirely on the wall system underneath | Moderate — hidden rot can progress for years since the vinyl itself won't show damage |
| LP SmartSide (engineered wood) | Resin-treated to resist moisture, but any breach in the factory coating or field-cut edge exposes wood strand material that can swell and deteriorate | Moderate — edge and cut-end sealing is critical and easy to get wrong |
| James Hardie fiber cement | Cement-based composition doesn't rot, and moisture that reaches it doesn't cause the material itself to break down | Low — the wall system behind it still needs to be built correctly, but the siding isn't the weak link |
The point of this table isn't that any of these products are junk. Wood siding has been used successfully for generations, vinyl is inexpensive and widely available, and engineered wood products like LP SmartSide have real engineering behind their moisture resistance. But every one of them puts more of the burden on perfect installation, perfect detailing, and ongoing maintenance to keep water from becoming rot. Fiber cement removes one variable from that equation: the siding material itself doesn't rot, swell, or feed fungal growth, even when it gets wet.
Early Warning Signs Worth Checking For
Most rot problems we find on Whatcom County homes didn't happen suddenly — they were visible in smaller ways long before anyone noticed. A few minutes walking the exterior of your home, especially after a stretch of the driving rain we get off the water in fall and winter, can catch problems while they're still cheap to fix.
- Soft or spongy spots when you press on siding, trim, or window sills
- Paint that's bubbling, peeling, or flaking in one localized area rather than uniformly across the wall
- Dark streaking or staining below window sills, deck ledgers, or roof-to-wall intersections
- Visible gaps opening up at butt joints or where boards meet trim
- A musty smell near an exterior wall from inside the house
- Moss or dark algae holding moisture against a wall section that stays shaded most of the day
- Siding that looks slightly warped, bowed, or no longer sits flat against the wall
Any one of these on its own isn't necessarily an emergency. Several of them clustered in the same area, especially near a window, door, or roofline, usually means it's time to have someone open things up and take a real look.
What Happens When It Goes Undetected
Rot doesn't stay contained to the siding. Once moisture reaches sheathing, it can spread into wall framing, insulation, and eventually interior finishes. Wet insulation loses most of its R-value, so a rotting wall is also a less efficient one. Left long enough, structural sheathing can lose enough integrity that it no longer provides proper nailing or shear strength, and framing repairs become part of the project instead of just siding replacement. This is also where mold becomes a real concern, since damp wall cavities with organic material (wood, paper-faced insulation) are exactly the conditions mold needs.
None of this happens overnight. It typically takes multiple seasons of unaddressed moisture intrusion, which is exactly why our long wet season and moss-heavy months matter — they extend the window every year during which a small breach in the wall system can do damage.
Repair, Re-Side, or Rebuild the Wall?
When we're called out to look at a moisture or rot problem, the first question isn't "what siding do you want" — it's how far the damage actually goes. That usually means removing siding in the affected area to inspect the sheathing and framing directly, rather than guessing from the outside.
- Localized surface damage — a section of rotted trim or a small area of compromised sheathing can often be repaired and re-sided without a full tear-off
- Wider but shallow moisture intrusion — may call for replacing the water-resistive barrier and flashing details in that area along with new siding
- Structural sheathing or framing damage — requires carpentry repair before any new siding goes back on; skipping this step just buries the same problem under new material
This is also usually the point where a homeowner decides whether to spot-repair an aging wood or vinyl installation, or use the opportunity to re-side with a material that won't put them back in this position in another decade or two.
Why We Install James Hardie and Nothing Else
We don't install LP SmartSide, vinyl, cedar, primed spruce, or other fiber cement brands like Cemplank or Allura — not because those products can't be installed correctly by someone, but because our whole business is built around standing behind a wall system for the long haul, and we've chosen to standardize on the one siding material where moisture reaching the surface doesn't put the material itself at risk. James Hardie's fiber cement is non-combustible, engineered climate zone by climate zone (their HZ5 product line is built for regions like ours with sustained moisture exposure), and finished with a factory-applied ColorPlus coating that holds up to the freeze-thaw and wet-dry cycling that's hard on field-painted materials. It carries a strong transferable warranty, which matters more in a climate that stresses siding harder than most.
That said, Hardie siding isn't a substitute for a correctly built wall. It still needs proper flashing, a functioning drainage plane, and correct fastening to perform the way it's designed to. What it does is remove the siding material itself as a point of failure, so if water does get behind the cladding, you're dealing with a wall system issue rather than siding that's actively rotting and feeding the problem.
Maintenance Habits That Actually Prevent Rot
Regardless of what's currently on your walls, a few habits go a long way toward keeping moisture from becoming a structural problem:
- Keep gutters clear, especially heading into the fall moss and leaf season — overflowing gutters are one of the most common causes of localized wall saturation
- Maintain a gap between grade, mulch beds, or deck surfaces and the bottom of your siding
- Re-caulk failing joints around windows, doors, and trim before they open up further
- Trim back vegetation and pressure-wash algae or moss growth off shaded wall sections rather than letting it sit
- Have flashing at roof-to-wall intersections and deck ledgers inspected periodically, since these are the details most likely to be installed incorrectly in the first place
If you're noticing any of the warning signs above, or you'd just like an honest look at how your walls are holding up after another Whatcom County winter, we're happy to come out, take a look, and walk you through what we find. There's no cost and no pressure — just a straight answer about what's going on behind your siding and what your options are.