 Lynden
 Building New in Sumas Is a Different Job Than Replacing an Old Window
When a home is still open to the weather — sheathing exposed, house wrap going up, framing crew still on site — the windows going into those rough openings get one real shot at being installed correctly. There's no old window to pull, no decades-old flashing to work around, no guessing what's hidden behind the trim. New construction is the easiest time to get a window opening right, and also the easiest time to get it wrong in a way that doesn't show up for five or ten years. In Sumas and the rest of the Lynden area, where fall and winter storms drive rain sideways for days at a time, that first installation is what decides whether a window opening stays dry for the life of the house.
This page is specifically about installing new-construction windows in homes and additions going up in and around Sumas — not about swapping out old windows in an existing wall. The products, the flashing sequence, and the coordination with the framing and siding crews are all different, and they matter more here than in drier parts of the state.
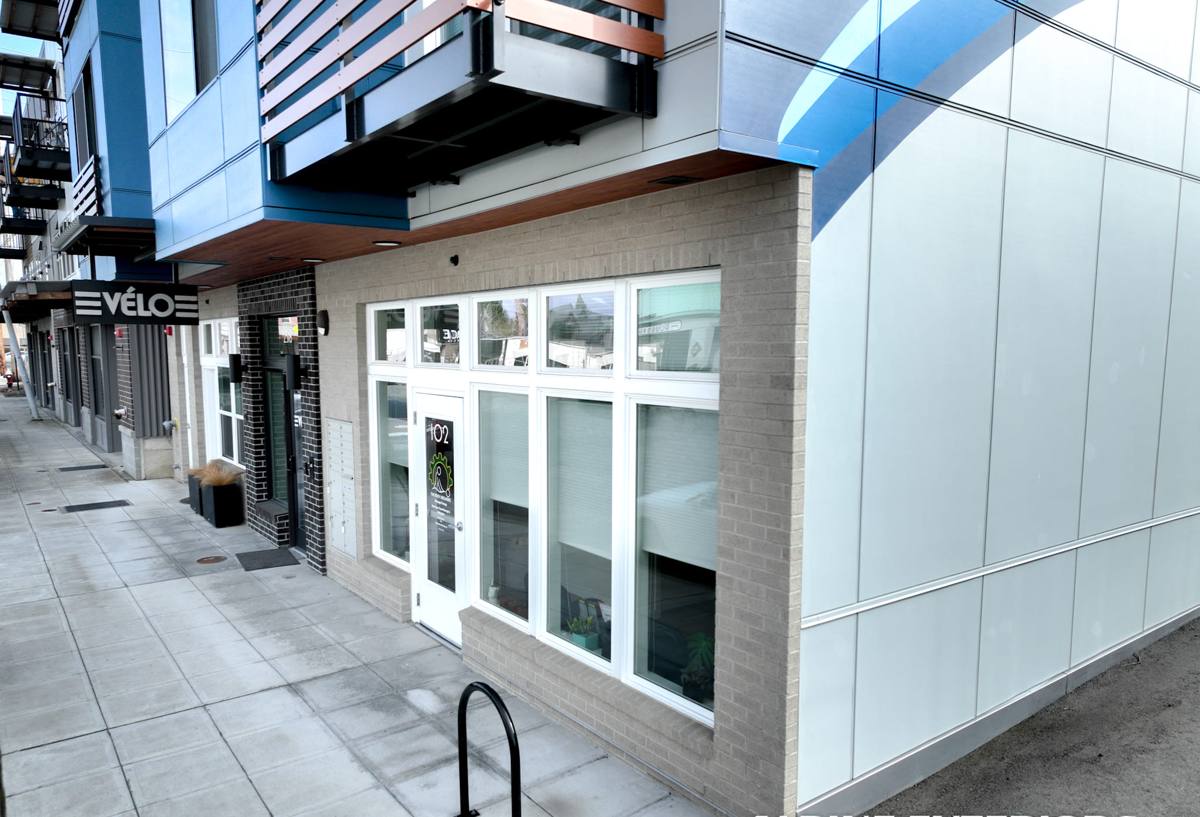
What Sumas-Area Weather Does to a New Window Opening
Sumas sits near the Nooksack River lowlands, close enough to Bellingham Bay and the Salish Sea that marine-influenced weather systems reach it regularly through the fall and winter. That means driving rain that doesn't just fall straight down — it gets pushed sideways into wall assemblies by wind, and it finds any gap in flashing or sealant that a less careful installation left behind. Add in a long moss season, where north- and west-facing walls stay damp for weeks at a stretch, and you have conditions that punish shortcuts.
Homes low in the Nooksack watershed, including much of the Sumas area, also deal with higher ambient ground moisture and humidity than you'd find further up in the foothills. That doesn't change how a window itself is built, but it raises the stakes on getting the water management around the opening right, since the wall assembly has less margin for error before trapped moisture becomes a real problem.
Where the Damage Actually Shows Up
We rarely see failed glass or broken hardware from weather alone. What we see, years later, is:
- Rot in the sill framing or subfloor below a window that was never properly pan-flashed
- Stained or bubbling interior drywall around the head of a window where house wrap wasn't lapped correctly
- Corroded fasteners and hardware on lower-cost cladding around window trim exposed to years of damp air
- Soft trim boards and moss growth building up in corners where caulk was used to cover a flashing mistake instead of fixing it
Every one of these traces back to the rough opening stage — the part of the job that's invisible once the siding goes on.
The Flashing Sequence: The Part That Actually Waterproofs the Window
The window unit itself is only part of what keeps water out. The flashing sequence around it is what actually manages water that reaches the wall. On a new-construction opening, this needs to happen in the right order, every time:
Sill Pan First
A sloped sill pan under the rough opening gives any water that gets past the window somewhere to go — out, not down into the framing. This is the single most skipped step on lower-bid jobs, because it takes time and it's invisible once the window is set. It's also the step that matters most in a climate where wind-driven rain is a regular fall and winter occurrence.
House Wrap Integration
The water-resistive barrier has to be cut and lapped in the correct shingle-style order — bottom to top — around the opening before the window goes in, then the window's nailing fin gets integrated into that sequence with flashing tape at the sides and top. Get the order backwards and you've built a funnel instead of a drain path.
Head Flashing
A proper head flashing or drip cap above the window sheds water around the top of the unit instead of letting it sit against the frame. On homes taking direct wind-driven rain off approaching storm fronts, this detail is not optional.
None of this is unusual or proprietary — it's the standard water-managed installation method that most window manufacturers require to honor their warranty. The difference between a good installation and a problem one is almost always whether every step actually got done, in order, on every opening, not whether an unusual technique was used.
Choosing Frame Materials for This Climate
For new construction, you're picking the window from scratch, which means it's worth thinking about how each frame material holds up to years of damp, mossy, salt-tinged air rather than just matching whatever was in the plans.
| Frame Material | Moisture Behavior | Maintenance | Typical Fit for Sumas-Area Homes |
|---|---|---|---|
| Vinyl | Doesn't rot, absorb water, or corrode | Low — occasional cleaning | Strong all-around choice for budget-conscious new builds |
| Fiberglass | Very stable, minimal expansion/contraction, resists moisture well | Low | Good option for larger openings or where paint-matching to trim matters |
| Wood or wood-clad | Attractive but the wood core is vulnerable if the exterior cladding or seals ever fail | Higher — needs monitoring and eventual refinishing | Workable for interior-facing trim styles, but we're selective about where we recommend it on wind- and rain-exposed elevations |
| Aluminum | Conducts heat/cold poorly and is prone to condensation in this climate | Moderate | Rarely our first recommendation for residential builds here |
None of these materials is automatically wrong for a given home — the right call depends on the wall's exposure to weather, the architectural style, and budget. We'll walk through the trade-offs for your specific elevations rather than defaulting to one product across the whole house.
How We Handle New-Construction Window Installs
Working new construction means coordinating with a build schedule, not just showing up to a finished wall. Our process is built around that:
- Plan review and rough opening check — we confirm window sizes and rough opening dimensions against the actual framing before installation day, catching sizing mismatches while they're still cheap to fix.
- Sill pan and flashing prep — sill pans, corner patches, and flashing tape go in ahead of setting the units, in the sequence above.
- Setting and leveling — units are set plumb, level, and square, shimmed correctly, and fastened per manufacturer spec so the frame isn't stressed and the seal isn't compromised.
- Integration with house wrap and siding — we coordinate directly with the framing and siding crews so the water-resistive barrier and cladding lap correctly over our flashing, instead of each trade assuming the other handled it.
- Final check — operation, seal, and flashing lap are checked once trim is on, before the crew leaves the site.
That handoff between trades — window, house wrap, and siding — is where a lot of new-construction water problems actually originate, not from any single trade doing bad work, but from nobody owning the transition between them. We treat that coordination as part of the job, not an afterthought.
Why a Crew That Already Works in Sumas Is Worth Hiring
Window installation methods themselves aren't secret. What matters is whether the crew on your site has actually done this work, in this weather, on homes near yours. A crew that regularly works Whatcom County new construction already knows:
- How local building departments expect flashing and water-resistive barrier details to be documented at inspection
- Which elevations on a typical Sumas-area lot take the worst of the wind-driven rain and deserve extra attention at the flashing stage
- How to sequence window installation around the pace of a local framing and siding schedule instead of working in isolation
- What the long moss season does to exposed trim and sills if a job sits partially finished for too long
That local familiarity shows up less in any single technique and more in the number of things that don't go wrong — the flashing detail that gets done right the first time because it's been done a hundred times before on a house not far from yours.
What Drives Cost on a New-Construction Window Job
| Factor | Why It Moves the Price |
|---|---|
| Number and size of openings | More units and larger units mean more material and labor hours |
| Frame material | Vinyl is generally the most budget-friendly; fiberglass and wood-clad cost more upfront |
| Glass package | Upgraded low-E coatings or triple-pane glass add cost but improve comfort and efficiency |
| Opening complexity | Bays, large picture windows, and unusual shapes take more time to flash correctly |
| Scheduling coordination | Tight coordination windows with other trades on an active job site can affect labor efficiency |
We don't quote a job off a floor plan alone — actual pricing depends on the specific window schedule, sizes, and materials your builder or design calls for. We're glad to walk through your plans and give you a straightforward, itemized estimate rather than a single round number.
Protecting the Investment After Installation
A correctly installed new-construction window shouldn't need much attention, but a little maintenance goes a long way in this climate:
- Rinse pollen, road grime, and moss spores off frames and glass a few times a year, especially on north- and west-facing walls
- Check exterior caulking annually and have any cracked or missing sealant addressed before the wet season sets in
- Keep gutters and downspouts clear so runoff isn't sheeting directly down over window heads
- Trim back vegetation and clear debris that holds moisture against lower window trim
- Operate and lubricate hardware periodically so mechanisms don't seize from disuse over a damp winter
None of this requires a specialist — it's the kind of upkeep any homeowner can do in an afternoon, and it meaningfully extends the life of both the windows and the wall assembly around them.
Get a Straightforward Estimate
If you're building new or adding on in Sumas and want window installation done right the first time, we're happy to walk your plans, talk through frame and glass options, and put together a clear, no-pressure estimate. There's a form below — reach out and we'll get back to you.