 Lynden
 Building New in Custer Means Getting the Windows Right the First Time
Custer sits close enough to the water and open farmland that new homes here take weather from more than one direction. You get salt-laden air moving in off the Strait and the Sound, long stretches of driving rain riding sideways on winter storms, and a moss season that seems to run nine or ten months out of the year on anything shaded or north-facing. None of that is dramatic on its own, but stacked together over the life of a house, it's exactly the kind of slow, steady exposure that finds every shortcut in a window installation.
New construction is the one chance to do this correctly from the framing out. Once siding, trim, and interior finish are closed up around a window, fixing a bad flashing job means tearing back into finished work. On a new build in Custer, we get to set the window into the rough opening the right way the first time — proper flashing sequence, correct sealant placement, and a weather-resistive barrier that's actually lapped and integrated instead of just stapled around the opening.
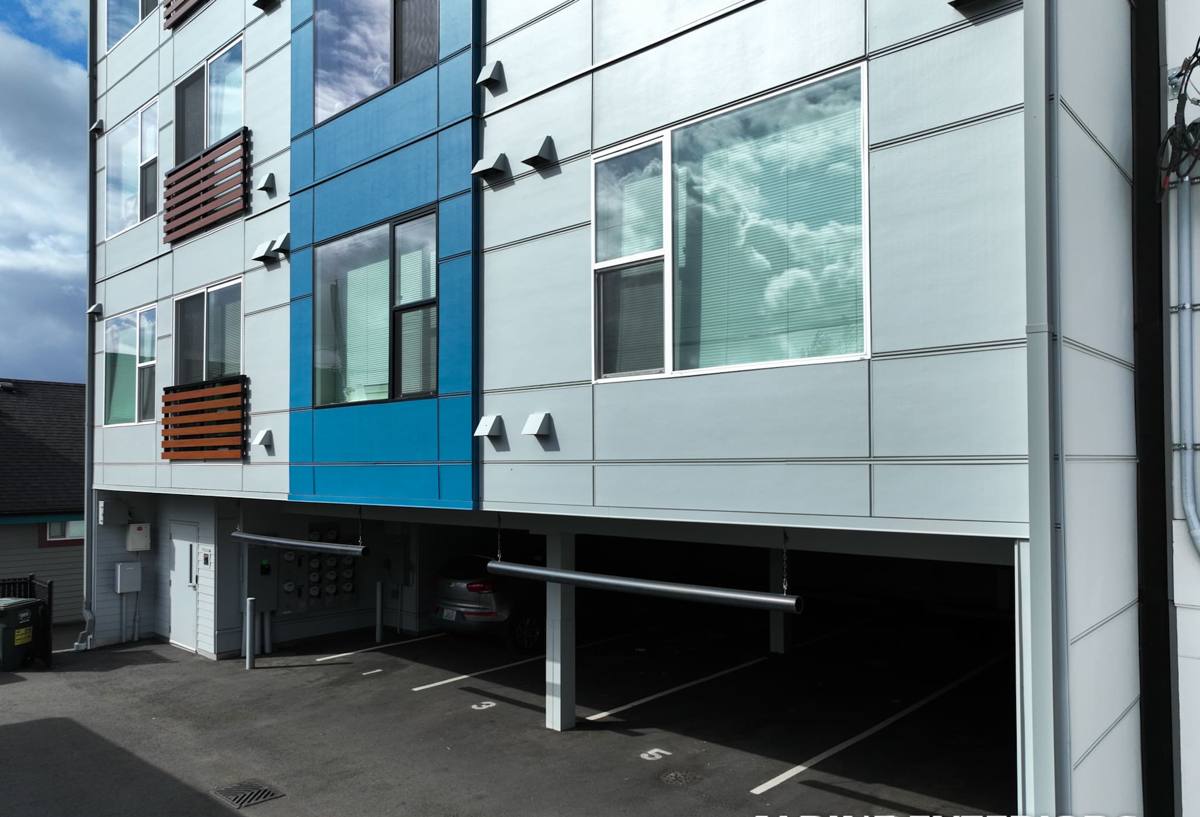
What Custer's Climate Actually Does to a Window Installation
Salt Air
Proximity to salt water accelerates corrosion on fasteners, hinges, and window hardware that isn't rated for it. It also degrades cheap sealants and gaskets faster than the manufacturer's stated lifespan would suggest inland. We spec fasteners and hardware finishes with that exposure in mind rather than defaulting to whatever's cheapest at the yard.
Driving Rain
Whatcom County storms don't just drop rain straight down — wind pushes it sideways and up under trim, sills, and anywhere a gap exists. A window that would perform fine in a calm climate can leak here if the flashing isn't shingled correctly (each layer overlapping the one below it so water sheds outward, never trapped behind the cladding).
Moss and Prolonged Moisture
Moss doesn't attack the window itself, but it holds moisture against trim, sills, and siding for months at a time on shaded elevations. That sustained dampness is hard on wood trim and can telegraph moisture into a wall assembly if the window's drainage plane isn't doing its job. On a new build we set up sills and trim details so water has somewhere to go instead of somewhere to sit.
New-Construction Windows vs. Replacement Windows: Why the Method Differs
A lot of homeowners assume "window install" is the same job whether it's a remodel or a new build. It isn't. Replacement windows typically install into an existing frame with the exterior trim and cladding already in place — a pocket or insert method. New-construction windows install directly into the rough opening before the house wrap, flashing, and siding go on, using a nailing fin that gets integrated into the weather-resistive barrier itself.
That difference matters because a new-construction install becomes part of the wall's drainage plane, not just a unit sitting inside one. Done right, it's the stronger, more durable method — but it also means there's no forgiving it later. Every layer has to go on in the correct order, because once the siding closes over it, that sequence is locked in for the life of the house.
| Factor | New-Construction Method | Replacement/Insert Method |
|---|---|---|
| Install point | Before siding and house wrap go on | After exterior finish is already in place |
| Flashing integration | Nailing fin lapped directly into the WRB | Relies on existing frame and trim seal |
| Best use | New builds, additions, full re-siding jobs | Remodels where siding stays intact |
| Long-term drainage | Built into the wall assembly from the start | Depends on condition of existing opening |
Choosing the Right Window for a Whatcom County Build
There's no single "best" window brand or material for Custer — the right pick depends on the elevation exposure, the home's design, and the budget. What we do steer clients away from is anything with a maintenance schedule they won't actually keep up with, because in this climate, deferred maintenance shows up as rot or seal failure faster than it would somewhere drier.
Frame Materials, Honestly
- Vinyl: Low maintenance, good value, performs well against salt air and moisture — the practical default for most new-construction budgets here.
- Fiberglass: More dimensionally stable across temperature swings, holds paint well, higher upfront cost — worth it on larger openings or exposed elevations.
- Wood/wood-clad: Attractive but demands real upkeep in a climate this wet; we'll install it if that's the design intent, but we're honest that it's a bigger maintenance commitment near the water.
- Aluminum: Strong but a poor thermal performer and prone to condensation in our climate unless thermally broken — we use it selectively, not as a default.
Glass and Weatherstripping
Dual-pane, low-E glass is the baseline we work with on new builds — it's standard performance for this region, not an upgrade. Weatherstripping quality matters more here than in a mild climate, since it's the seal doing the daily work against wind-driven rain.
What a Correct New-Construction Window Install Involves
This is where most of the long-term performance actually gets decided — not the brand of window, but the sequence it goes in with.
The Flashing Sequence
- Sill pan flashing installed first, sloped to drain outward, before the window ever goes in.
- Window set into the rough opening, checked for level, plumb, and square.
- Side flashing installed, lapping over the sill pan.
- Head flashing installed last, lapping over the side flashing so every layer sheds water downward and outward.
- House wrap integrated over the top flange, completing the drainage plane.
Sealant Placement
Sealant goes where it's supposed to trap water out, not where it's supposed to trap water in. A common mistake on rushed jobs is sealing the bottom of the nailing fin, which can trap any water that does get past the outer seal right inside the wall. We leave the bottom of the sill flashing able to drain.
Fastening and Shimming
Windows get shimmed at load points, not just fastened at the fin, so the frame doesn't rack or bind over time as the house settles. Fastener spacing and type follow the window manufacturer's specification — skipping this is one of the fastest ways to void a warranty without anyone noticing until years later.
Our Process for a Custer New-Construction Job
1. Plan Review and Product Selection
We walk the plans or the framed opening with you, talk through frame material and glass options against your budget, and confirm window sizes and swing/operation types before ordering.
2. Timing With the Build
New-construction windows need to land at the right point in the framing schedule — after rough openings are set, before house wrap and siding close in. We coordinate with your builder or general contractor directly so windows aren't sitting on site as a bottleneck or, worse, going in before the opening is ready.
3. Installation
Sill pan, window set, flashing sequence, sealant, and fastening — done in that order, every time, regardless of how far behind schedule anyone is running. This is the part we don't compress.
4. Walkthrough and Final Check
Before we leave, every window gets operated, checked for square and smooth function, and the exterior flashing gets a visual once-over. You get a straight answer on what was done and why.
Cost Factors on a New-Construction Window Job
Pricing on new-construction windows depends on more than the number of openings. Here's what actually moves the number:
| Factor | Why It Matters |
|---|---|
| Window count and size | Larger openings and picture/specialty shapes cost more per unit than standard sizes |
| Frame material | Vinyl is the budget baseline; fiberglass and wood cost more upfront |
| Number of stories | Second-story and upper-elevation work takes more time and equipment |
| Elevation exposure | Windward or shaded/moss-prone elevations sometimes call for extra flashing detail |
| Coordination complexity | Tight builder schedules or unusual framing can add install time |
We're not going to throw out a number without seeing the plans or the opening — anyone who quotes new-construction window pricing sight unseen is guessing, and that guess usually isn't in your favor.
Mistakes We See on New Builds in This Area
- House wrap stapled around the window instead of properly lapped into the flashing, leaving a path for wind-driven rain to get behind the siding.
- Sealant applied at the bottom of the nailing fin, trapping moisture instead of letting it drain.
- Windows fastened without shims, leading to binding or air gaps once the house settles.
- Trim details on shaded or north-facing elevations that give moss and standing moisture nowhere to shed — a slow problem in Custer's climate, but a real one.
- Installers working ahead of the framing schedule, setting windows into openings that aren't actually square or ready.
Why a Crew That Already Works Custer Matters
Custer isn't a big place, but its exposure varies more than you'd expect between a lot backed up against open fields and one closer to the water. A crew that's already installed windows across Whatcom County new builds has seen which elevations actually take the weather hardest and adjusts the flashing and trim detail accordingly, instead of installing every opening the same way regardless of exposure. That's not a marketing point — it's the difference between a window that's still performing in fifteen years and one that starts showing problems in five.
We also know how to work alongside a builder's schedule without cutting corners to hit it. New construction moves fast, and there's real pressure to keep windows going in on pace with framing. We coordinate closely, but the flashing sequence doesn't get shortened to save a day.
Ready to Talk Windows for Your Custer Build?
If you're framing a new home or addition in or around Custer and want windows installed the way this climate actually requires, we're glad to walk the plans or the site with you. Reach out below for a free, no-pressure estimate — no obligation, just a straight look at what your build needs.