 Lynden
 New Construction in Ferndale Comes With Its Own Window Problems
Ferndale sits closer to Bellingham Bay and the Strait of Georgia than most of the towns we work in, and that changes what a window has to survive. Salt-laden air moves in off the water and settles on hardware, screens, and exposed fasteners. Add the driving, wind-pushed rain that comes with Pacific storms in the fall and winter, and a long stretch of the year where north- and west-facing walls barely see direct sun, and you get conditions that expose bad window installation fast. Moss and algae take hold anywhere moisture sits, which in Whatcom County is basically anywhere shaded and damp for months at a time.
None of this means new-construction windows in Ferndale need to be exotic or overbuilt. It means the installation has to be done correctly the first time, because a new build only gets one chance before the siding, trim, and interior finishes go on top of it. Fix-it-later isn't really an option once the wall is closed up.
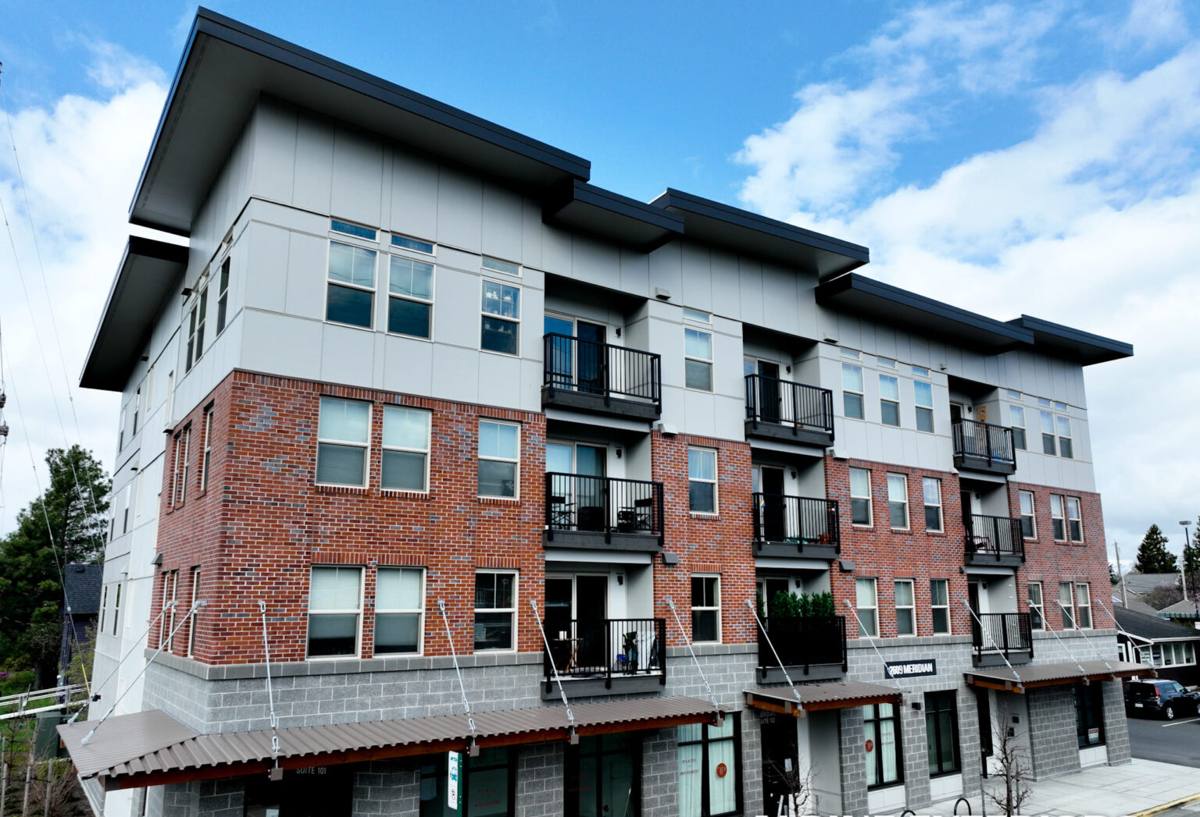
What "Correct" New-Construction Window Installation Actually Means
New-construction windows are different from replacement windows in one key way: you're installing into a bare rough opening with the weather-resistive barrier (WRB) and framing fully exposed, not working around existing trim and siding. That gives a crew the chance to get the water management right from the studs out — but only if the sequence is followed correctly.
Flashing and the weather-resistive barrier
Every layer has to shed water downward and outward, like shingles on a roof. That means the WRB laps over the sill flashing, the window's nailing fin gets flashed at the sides and head in the right order, and the head flashing laps over everything below it. Get this sequence backward — a common shortcut on rushed jobs — and you've built a path for water to work its way behind the window instead of around it.
Sill pans
A sill pan under the window creates a dedicated drainage plane so that any water that does get past the exterior — through wind-driven rain, condensation, or a failed seal years down the road — has somewhere to go besides your wall framing. In a climate with as much sustained wet weather as Whatcom County gets, we treat sill pans as standard practice, not an upgrade.
Setting, shimming, and fastening
A window that isn't level, plumb, and square will bind, won't lock tight, and will wear its weatherstripping unevenly. Shims go at the manufacturer's specified points, not wherever's convenient, and fastening follows the window's actual installation instructions rather than a generic pattern.
Picking Window Materials for a Marine Climate
Frame material matters more here than in a dry inland climate, mostly because of how each one handles sustained moisture and salt exposure over the long run.
| Frame Material | Moisture & Salt Air Behavior | Maintenance | Typical Cost Position |
|---|---|---|---|
| Vinyl | Doesn't corrode or rot; hardware and screens need periodic rinsing to clear salt residue | Low — occasional cleaning | Lower |
| Fiberglass | Very stable dimensionally, holds paint and finishes well in wet/dry cycling | Low to moderate | Mid to upper |
| Wood-clad | Cladding protects exterior face, but any breach at joints or corners lets moisture reach the wood core | Higher — finish and seal checks matter | Upper |
| Aluminum | Strong and slim sightlines, but prone to condensation and requires marine-grade hardware near saltwater | Moderate | Mid to upper |
We don't push wood-clad windows on new builds this close to the water unless the homeowner specifically wants that look and understands the upkeep. It's not that wood-clad is a bad product — it's that the maintenance schedule needed to keep it performing well in a salt-air, high-moisture environment is a real, ongoing commitment, and we'd rather set that expectation up front than have it become a surprise five years in.
Glazing matters as much as frame material. A double-pane unit with a low-E coating and argon fill, matched to the right U-factor and solar heat gain coefficient for a marine climate, keeps interior surfaces warmer and cuts down on the condensation that shows up on cold, wet Whatcom County mornings.
Our Install Process, Start to Finish
- Walk the window schedule against the actual rough openings before anything is unboxed — catching a sizing or swing-direction error here costs minutes; catching it after install costs days.
- Inspect and prep each rough opening: square, level, dry, and free of debris.
- Install sill pan flashing and integrate it with the WRB in the correct shingle-lap order.
- Set the window, shim per manufacturer spec, and check level, plumb, and square before fastening.
- Flash the sides and head, again lapped correctly over what's already in place.
- Insulate the perimeter gap without overpacking it, which can bow the frame.
- Tie in exterior trim and coordinate the siding lap so water is shed away from the window, not into it.
- Final operation check — every sash opens, closes, and locks the way it should before we call it done.
Why Windows and Siding Should Be One Crew's Job
On a lot of new builds, the window installer and the siding crew are two separate subs who never talk to each other. The window sub flashes to their own standard, hands it off, and the siding crew works around whatever they find — sometimes compensating with extra sealant instead of proper flashing laps. That hand-off point is one of the most common places a new home develops a leak, usually not in year one, but three or five years down the road once the sealant ages.
Because we install both the windows and the siding, there's no hand-off to get wrong. The same crew that sets the window is the one lapping the WRB and siding over it, so the water management plan is continuous from the sill pan to the finished wall — not two separate systems bolted together and hoped for.
Mistakes We Catch on New Builds
- Missing or incorrectly lapped sill pan flashing
- WRB installed in reverse lap order at the window opening
- Reliance on caulk or sealant in place of proper flashing
- Shims placed off-spec, causing frame bow and uneven weatherstrip wear
- Weep holes blocked by trim, insulation, or overspray
- Perimeter insulation gaps left open, or overpacked and distorting the frame
- Head flashing that doesn't extend far enough past the trim to actually divert water
Living With Salt Air and Moss: Long-Term Care
Once a Ferndale home is built and windows are in, ongoing care is mostly about staying ahead of two things: salt residue and moss. Hardware and screens near the coast benefit from an occasional rinse to clear salt buildup before it starts working on finishes and moving parts. Shaded, north-facing walls — common on lots with tree cover or tight neighbor setbacks — are where moss and algae take hold first; keeping sills and trim clear of buildup stops moisture from sitting against the window and surrounding wood trim through the wet months. Gutter and downspout placement also matters more here than people expect: a downspout dumping runoff directly above a window head undoes a lot of the flashing work underneath it.
What Affects Cost on a New Construction Job
| Factor | Why It Moves the Price |
|---|---|
| Number and size of openings | More units and larger glass mean more material and labor hours |
| Frame material | Vinyl, fiberglass, wood-clad, and aluminum sit at different price points, as shown above |
| Glazing package | Upgraded low-E coatings, gas fills, and impact-rated glass add cost but improve comfort and durability |
| Story height and access | Second-story or hard-to-access openings take longer and need more equipment |
| Trim and exterior detailing | Custom trim profiles or specialty exterior finishes add install time |
| Coordination with other trades | Tight scheduling around framing, WRB, and siding crews keeps the job moving without delays |
We're happy to walk through a real window schedule and give straight numbers rather than a broad estimate pulled out of thin air — every new build is different enough that ballpark figures aren't much use to a homeowner trying to budget.
A Lynden-Based Crew That Already Works Ferndale
We're based in Lynden, and Ferndale is regular territory for us — close enough that we're not learning the area's weather patterns on your job. We know why a west-facing opening needs more attention to head flashing than one tucked on the leeward side, and we know what a Whatcom County wet season does to a new build that wasn't flashed correctly. That's the kind of thing you only get from doing the work here repeatedly, not from a crew passing through once.
If you've got a new build going up in Ferndale, we're glad to take a look at the plans, talk through window and siding coordination, and give you a free, no-pressure estimate — just fill out the form below to get started.