 Lynden
 New-Construction Windows: What the Term Actually Means
"New-construction windows" isn't a marketing phrase — it's a specific installation method. These are flange (nail-fin) windows that get built into the wall assembly during framing, before the siding goes on, rather than fitted into an existing opening after the fact. The window's fin sits against the sheathing, gets integrated with the weather-resistive barrier (WRB) and flashing tape, and becomes part of the drainage plane for the whole wall. Done correctly, water that reaches the window never has a path to the framing behind it. Done poorly, that same window becomes the single most common source of hidden water intrusion in a new home.
For homeowners and builders working on a new build in the Nooksack area, this distinction matters more than it would in a drier climate. Whatcom County sees sustained wet weather for a large part of the year, and a window that's "close enough" on flashing detail will eventually show it — usually years later, inside a wall cavity where nobody's looking until there's a problem.
New Construction vs. Replacement: Why the Method Differs
Replacement windows are installed into a finished opening, often without a nail fin, relying on the existing frame and interior/exterior trim for weatherproofing. New-construction windows are installed before any of that exists — which means the flashing sequence has to be right the first time, because there's no siding or trim to hide behind if it isn't. On a new build, this is the one chance to get the water management layer correct before it's covered up for good.
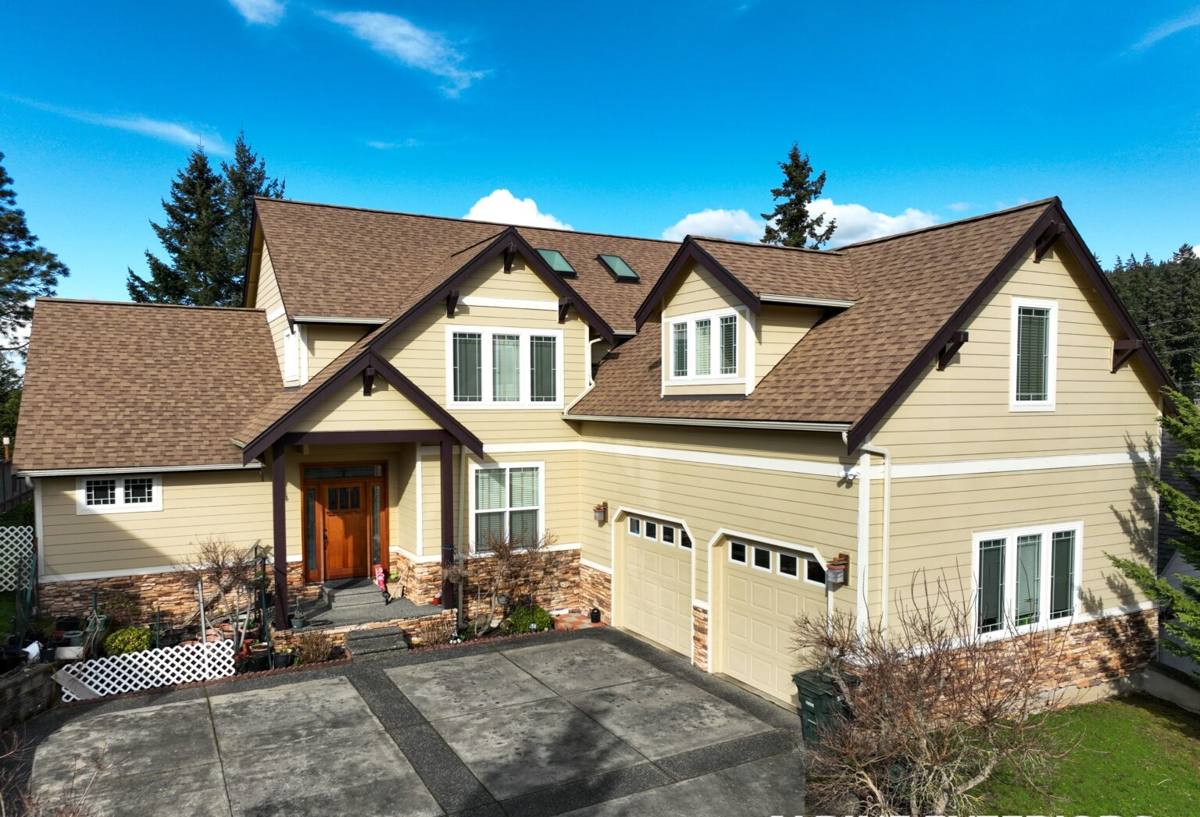
What the Nooksack Valley's Climate Demands From a Window Install
North Whatcom County sits close enough to the Salish Sea that marine air moves through the Nooksack River valley for much of the year, bringing long stretches of low-intensity rain, wind-driven storms off the Pacific, and the kind of persistent dampness that keeps moss and algae established on roofs, siding, and window sills for a good chunk of the calendar. That combination — driving rain plus salt-tinged marine air plus a long moss season — is hard on any exterior building component, but windows take it worse than most because they're full of seams, joints, and moving parts.
Driving rain matters because it doesn't just fall straight down — wind pushes it sideways and up under sills and around trim, which is exactly where a weak flashing detail fails first. Persistent moisture matters because it's what keeps moss and mildew established on horizontal surfaces like sills and sloped trim, and because it means any small gap in the seal stays wet longer instead of drying out between storms. And the salt-influenced marine air, while less corrosive here than on the immediate coastline, still accelerates wear on hardware, fasteners, and finishes over the life of the home. None of this is unique to any one house in Nooksack — it's the baseline for building in this part of the county, and it's why the installation detail matters as much as the window itself.
The Anatomy of a Correct New-Construction Window Install
Sill Pans and Drainage
Every rough opening should get a sill pan — a shaped, sloped barrier at the bottom of the opening that catches any water that gets past the window and directs it back outside instead of letting it pool on the framing. This is one of the most commonly skipped steps on lower-end installs, largely because it doesn't show and takes extra time. In a climate with as much sustained rain as this one, a sill pan is not optional — it's the last line of defense if anything upstream fails.
Integrating the Window With the Weather-Resistive Barrier
The WRB (housewrap) and the window flashing have to be layered in the correct order — sill pan first, then the window, then jamb flashing, then head flashing, then the WRB lapped over the top in a shingle-style sequence so that water always drains down and over the layer below it, never behind it. Get this order wrong — even by installing one piece of tape before instead of after another — and you've built a path for water to travel behind the WRB instead of over it.
Head Flashing and the Shingle-Lap Principle
Above the window, a head flashing (often integrated with the WRB or a separate metal or membrane flashing) has to lap over the top of the window flange and tuck under the housewrap above it. The rule that governs all flashing work is simple to state and easy to get wrong in practice: every layer above laps over the layer below, all the way down the wall. On a house that will spend months of every year under sustained rainfall, this is the detail that decides whether the wall assembly stays dry for the next thirty years or starts hiding a problem within five.
Choosing Frame Materials for a New Build in This Climate
Frame material affects how a window handles moisture, temperature swings, and long-term maintenance — all relevant in a climate that stays damp for extended stretches and swings between wet winters and drier, sun-exposed summers. There's no single right answer for every project; it depends on budget, the style of the home, and how much maintenance the homeowner wants to take on.
| Frame Material | Moisture Behavior | Maintenance | Relative Cost | Best Fit |
|---|---|---|---|---|
| Vinyl | Won't rot; some expansion/contraction with temperature swings | Low — occasional cleaning | Lower | Budget-conscious new builds, rental or spec homes |
| Fiberglass | Very stable dimensionally; handles wet-dry cycling well | Low | Mid to higher | Homes where long-term stability and paintability matter |
| Wood-clad | Good performance if the exterior cladding and seals are maintained | Higher — finish and seals need periodic attention | Higher | Homes prioritizing a traditional wood interior look |
Regardless of frame material, we pay attention to how the manufacturer designs the flange and corner seals — a well-engineered frame with a mediocre install will still leak, and a good install on a poorly designed frame is fighting an uphill battle. We stand behind the frame lines we install and the installation detail behind them, and we're upfront with homeowners about the maintenance trade-offs of each option rather than pushing whichever is easiest to sell.
Sequencing: Getting the Timing Right on a New Build
Window installation on a new build isn't an isolated task — it has to be coordinated with the framer, the WRB installer, and whoever's handling siding, because each of those trades depends on the layer before it being done correctly. We also pay attention to the weather window itself. Setting windows and taping flashing during an active rain event in the middle of a Whatcom County storm system is a good way to trap moisture under tape that should have gone down dry. On projects in the Nooksack area, we work with builders to schedule window-in around realistic dry windows rather than forcing the sequence to hit an arbitrary date.
Our Process for New-Construction Window Installations
- Verify rough openings are square, plumb, and correctly sized before any window arrives on site
- Install sloped sill pans at every opening, with end dams to contain water at the jambs
- Set the window, checking level, plumb, and square before fastening — a window that's slightly racked will bind and seal poorly for the life of the home
- Fasten through the flange per the manufacturer's schedule — not more, not fewer, and not substituting fastener types
- Flash jambs and head in the correct shingle-lap order, integrated with the WRB
- Insulate the gap between frame and rough opening with a compatible low-expansion foam or backer rod, never packed tight enough to bow the frame
- Seal and trim the interior side once the wall assembly is closed in
- Photograph flashing details before they're covered by siding, for our records and the homeowner's
Mistakes We Watch For
Most window leaks on new construction don't trace back to a bad window — they trace back to an installation shortcut. The most common ones we see (and correct as standard practice, not as an upsell) are: caulk used as a substitute for proper flashing rather than as a supplement to it, WRB and flashing tape lapped in the wrong order, missing or flat (non-sloped) sill pans, and over-driven or under-driven fasteners that either crack the flange or leave the window loose in the opening. Every one of these is avoidable with the right sequence and a crew that isn't rushing to close in the wall before the next trade shows up. Our standard is to treat the flashing detail as the part of the job that actually determines whether the window performs for the next few decades — because in a climate that stays wet as long as this one does, it is.
Why a Crew That Already Works Nooksack Matters
A crew that regularly installs windows on new builds around Lynden and the Nooksack River valley has a working sense of how this specific stretch of Whatcom County behaves — how long the moss season really runs, how exposed a given lot is to wind-driven rain off open farmland, and what local building departments expect to see at inspection. That familiarity shows up in small decisions: which side of a wall to prioritize for extra sealant attention, how to sequence around a wet forecast instead of guessing, and what detail an inspector is going to want documented before drywall goes up. It's less about any single trick and more about not having to relearn the local conditions on every job.
If you're planning a new build in the Nooksack area and want windows installed the way this climate actually requires — sill pans, correct flashing order, and a crew that won't rush the sequence — we're happy to walk the plans with you and put together a free, no-pressure estimate. Use the form below to get started.