 Lynden
 Building New in Birch Bay Means Building for the Water
Birch Bay sits right on the Strait of Georgia, which means every new home here takes on a combination of weather that inland Whatcom County builds simply don't see. Salt-laden air corrodes unprotected hardware faster than people expect. Wind-driven rain off the water doesn't fall straight down — it gets pushed sideways into wall assemblies, which is exactly where window openings are weakest if they're not detailed correctly. And the long gray stretch from fall through spring keeps siding, trim, and window sills damp for weeks at a time, which is what drives moss and algae growth on anything that doesn't shed water cleanly.
None of that is a reason to avoid building in Birch Bay. It's a reason to make sure the window openings in a new build are flashed, sealed, and fitted by people who've actually dealt with this exposure before. A window that performs fine in a sheltered Lynden neighborhood a few miles inland can still leak within a couple of winters on a Birch Bay lot facing open water, if the installation didn't account for the difference.
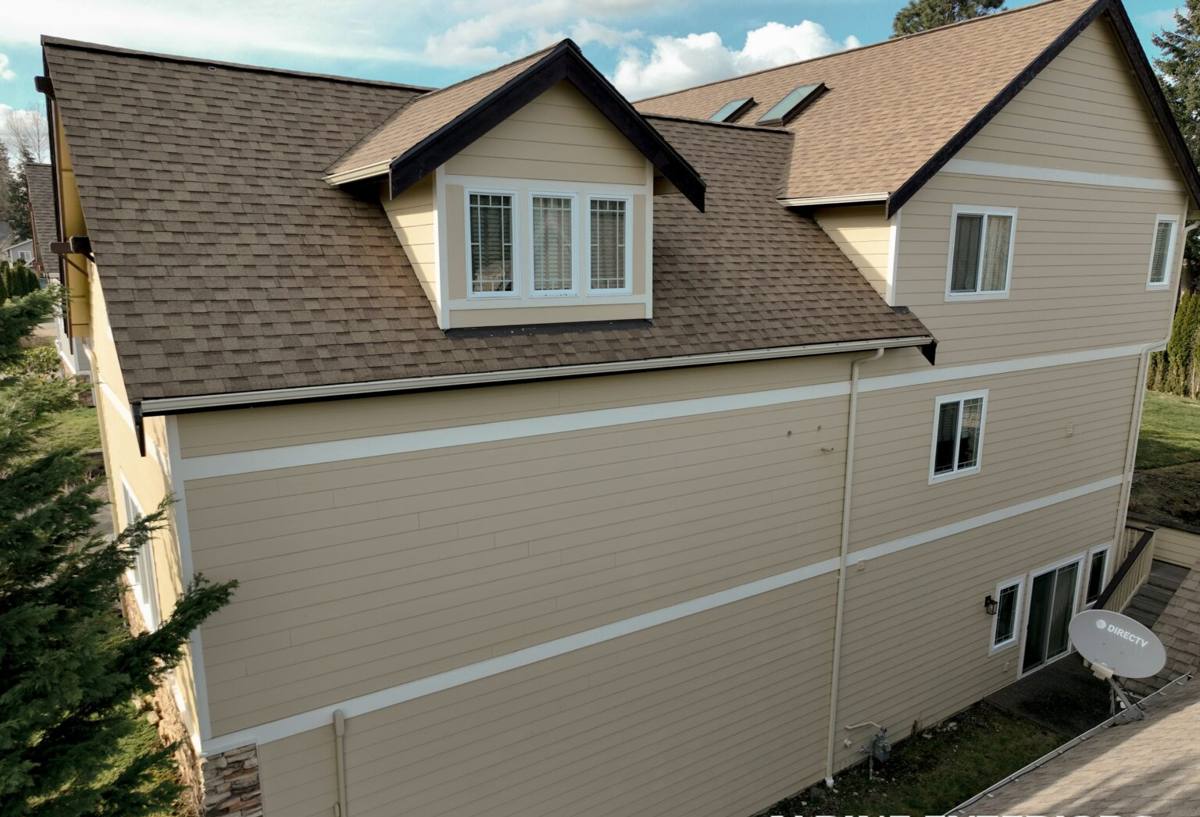
New-Construction Windows Are a Different Job Than Replacement Windows
It's worth being clear about this up front, because homeowners and even some builders conflate the two. Replacement windows go into an existing, finished wall — the old window comes out, the new one goes into the same opening, and the work is largely confined to the interior and the existing exterior trim. New-construction windows go in before the siding, house wrap, and finish trim are complete, which means the window and the wall's water-management system get built together, as one assembly.
That's actually an advantage on a new build, especially in a coastal location. It means the flashing, the weather-resistive barrier (WRB), and the window's nailing fin can all be integrated correctly the first time, with no old caulk, old trim, or old framing decisions to work around. But it also means there's no room for shortcuts — mistakes made at this stage get sealed behind siding and aren't visible again until they show up as a stain on drywall or a soft spot in the sill, sometimes years later.
What "Correct" Looks Like in a Marine Exposure
- A sloped sill pan under every window opening, so any water that does get past the window has somewhere to drain instead of pooling on the framing.
- Flashing tape or flexible flashing integrated in the correct shingle-lap order — sill first, then jambs, then head — so water is always directed outward and downward, never trapped behind a layer.
- The window's nailing fin fully bedded and taped into the WRB, not just stapled and caulked at the edges.
- Head flashing that extends beyond the window trim width and ties into the WRB above, since head-of-window leaks are the most common failure point in wind-driven rain.
- Corrosion-resistant fasteners and hardware throughout — standard steel fasteners have a shorter service life this close to salt air.
Choosing Window Materials for Birch Bay's Exposure
There's no single "best" window material for every home — it depends on budget, the home's design, and how exposed the specific lot is to wind and salt air. What we do is walk through the real trade-offs with the homeowner or builder rather than defaulting to whatever's easiest to install.
| Material | Coastal Performance | Maintenance | Typical Fit |
|---|---|---|---|
| Vinyl | Good — won't rust or corrode; quality varies by manufacturer and weld strength | Low — occasional cleaning, no painting | Most new-construction budgets |
| Fiberglass | Very good — dimensionally stable, holds paint and seals well over time | Low to moderate | Homes wanting durability without wood upkeep |
| Wood / wood-clad | Requires careful detailing — the clad exterior handles weather, but any exposed wood needs upkeep | Higher — periodic inspection and finish maintenance | Design-driven projects prioritizing interior wood look |
| Aluminum | Prone to corrosion in salt air unless properly finished; thermally less efficient | Moderate | Less common for residential builds in this exposure |
For most new builds in Birch Bay, we steer homeowners toward vinyl or fiberglass units specifically rated for high-exposure coastal use, with attention to the corner-weld and seal quality rather than just the sticker price. A cheaper window with a weak corner weld is a slow leak waiting to happen once it takes a few seasons of wind-driven rain.
Glass Packages Worth Considering
Beyond the frame material, the glass package matters just as much in this location:
- Low-E coatings with argon fill — standard on most quality new-construction windows now, and worth having for energy performance through Whatcom County's long heating season.
- Higher wind-load / design-pressure ratings — worth discussing for lots with direct exposure to open water, where sustained wind loads on glass are higher than a sheltered inland lot.
- Laminated glass options — add sound dampening and impact resistance, useful on homes closer to the shoreline where storm-driven debris is more of a factor.
Our New-Construction Window Installation Process
- Plan review and window schedule check. We confirm rough openings, egress requirements, and window sizes against the approved plans before anything goes in — catching a sizing error before framing is done saves weeks of delay.
- WRB and flashing sequencing. We coordinate directly with the framer or builder so the house wrap and sill pan flashing go in at the right point in the build sequence, not as an afterthought once framing is "done."
- Window setting. Units are set plumb, level, and square, shimmed correctly, and fastened per manufacturer specification — over-driving or under-driving fasteners is a common cause of frame distortion and long-term seal failure.
- Flashing integration. Head, jamb, and sill flashing are integrated with the WRB in the correct shingle-lap sequence so the whole wall assembly sheds water as one system.
- Interior and exterior sealant. We use sealants rated for this climate and follow manufacturer guidance on where sealant is appropriate versus where it should be left open to allow drainage.
- Final inspection and documentation. Every opening gets checked before siding closes it in, since this is the last point where a flashing mistake can be caught and fixed cheaply.
What Drives Cost on a New-Construction Window Job
| Factor | Why It Matters |
|---|---|
| Number and size of openings | More and larger windows mean more material and labor hours |
| Frame material | Vinyl is typically the most budget-friendly; fiberglass and wood-clad cost more |
| Glass package | Impact-rated or laminated glass, higher design-pressure ratings, and specialty coatings add cost |
| Exposure and elevation | A lot with direct water exposure may call for higher-rated units and more careful flashing detail, adding labor time |
| Site access and build phase timing | Coordinating install around framing and WRB schedules affects labor efficiency |
We give straightforward, itemized estimates rather than a single lump number, so a homeowner or builder can see exactly what's driving the cost and where there's room to adjust the budget without cutting corners on the parts that actually protect the building.
Mistakes We See in Coastal New Builds
Most window problems in new construction don't come from a bad window — they come from installation shortcuts that are invisible once the siding goes on. The ones we run into most often near the water:
- Sill pans skipped or improvised with caulk alone instead of a proper sloped, drained pan.
- Flashing taped in the wrong order, sending water behind the WRB instead of over it.
- Standard fasteners used where corrosion-resistant hardware was needed, leading to staining and weakened fastening over a few seasons of salt exposure.
- Sealant used to "fix" a flashing gap instead of correcting the flashing itself — sealant alone isn't a substitute for a properly lapped water-management system, and it fails well before the building does.
What to Ask Before Hiring for New-Construction Window Work
- Do you install sill pan flashing on every opening, or only when requested?
- What fastener and flashing materials do you use in exposed coastal locations, and are they rated for it?
- Can you walk me through your flashing sequence before the siding goes on?
- Do you coordinate directly with the framing crew and general contractor on WRB timing?
- Are you licensed and insured to work in Whatcom County, and can you provide that documentation?
- Have you installed windows on other builds in Birch Bay or similarly exposed shoreline lots?
Why It Matters to Hire a Crew That Already Works Birch Bay
A lot of window problems in this area aren't the fault of a bad product — they're the result of an installation approach that would have been fine two miles inland but wasn't built for direct exposure to the Strait. A crew that regularly works Birch Bay knows which lots take the worst of the wind and rain, which orientations need the most conservative flashing detail, and how quickly moss and algae take hold on surfaces that don't drain cleanly — and details accordingly, before the siding closes everything in.
That local knowledge doesn't show up on a spec sheet. It shows up years later, in a window that's still sealed tight through its fifth or sixth wet Whatcom County winter instead of one that needed attention after its second.
If you're building new in Birch Bay and want a straightforward look at what your window openings actually need for this exposure, we're happy to walk the plans with you and put together a clear, no-pressure estimate — just fill out the form below to get started.